Adding a new locale
Learn how to add a new language and region to your Framer site.
Localization in Framer makes it easy to adapt your website for different languages and regions. This guide explains how to add a new locale and start translating your content.
Adding a new locale
Locales in Framer are the languages your website can be translated into. Each locale corresponds to a single language, with an optional region assigned to it.
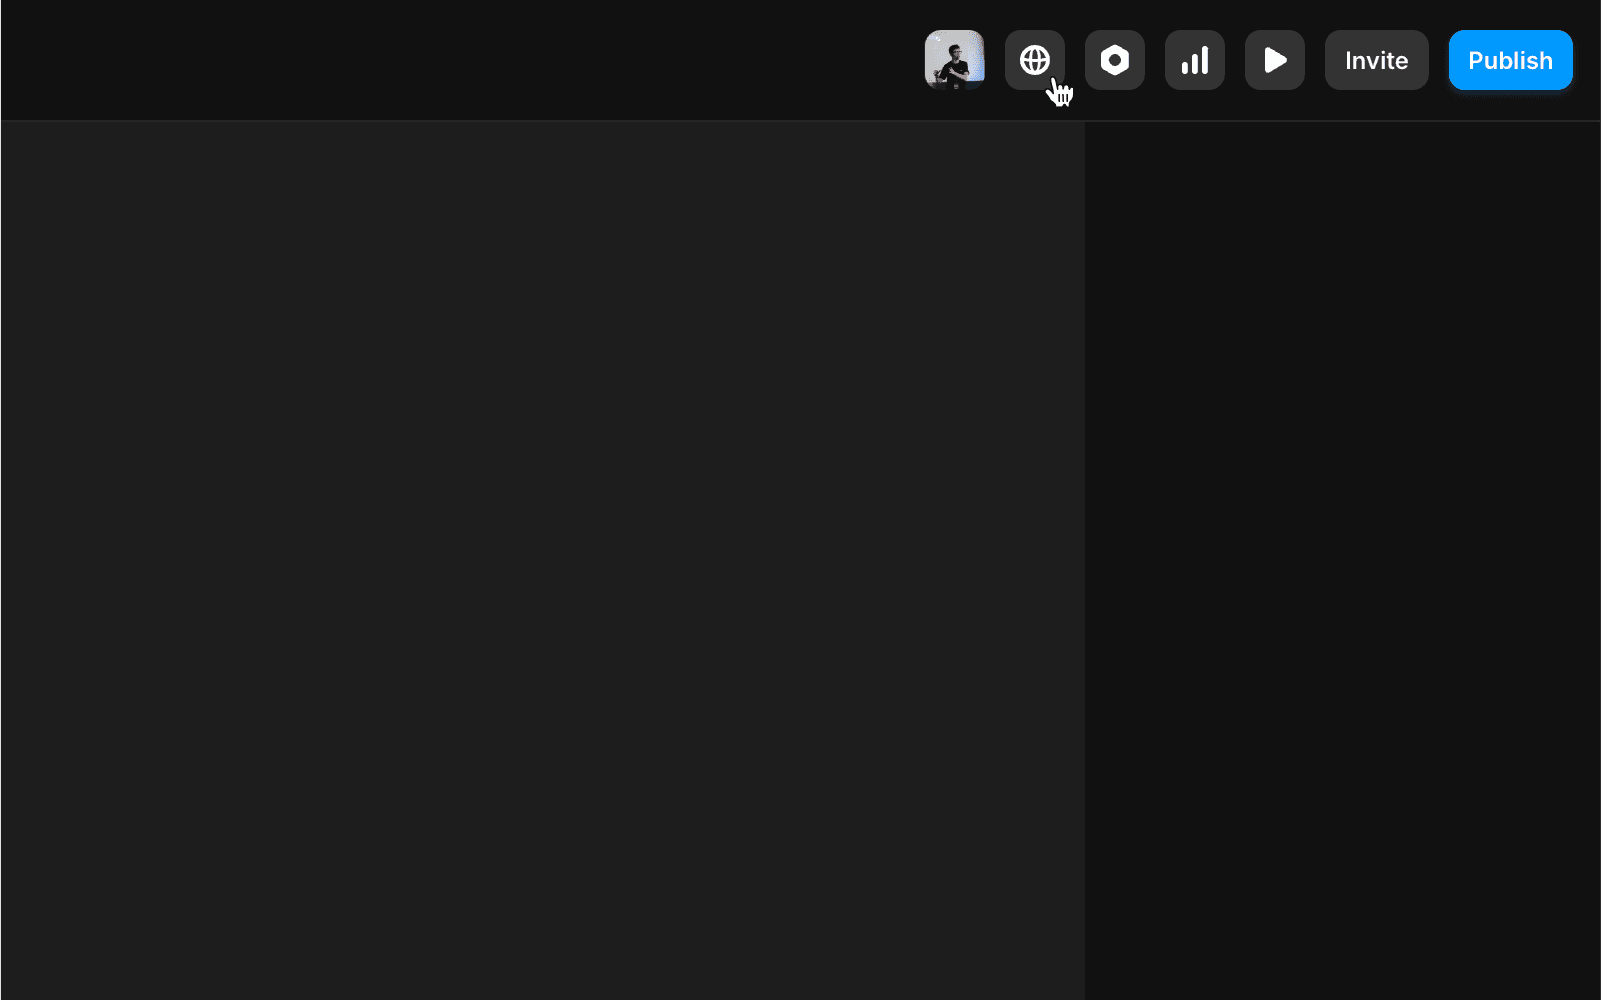
To add a new locale, click the globe icon in the top-right corner to open the Localization view.
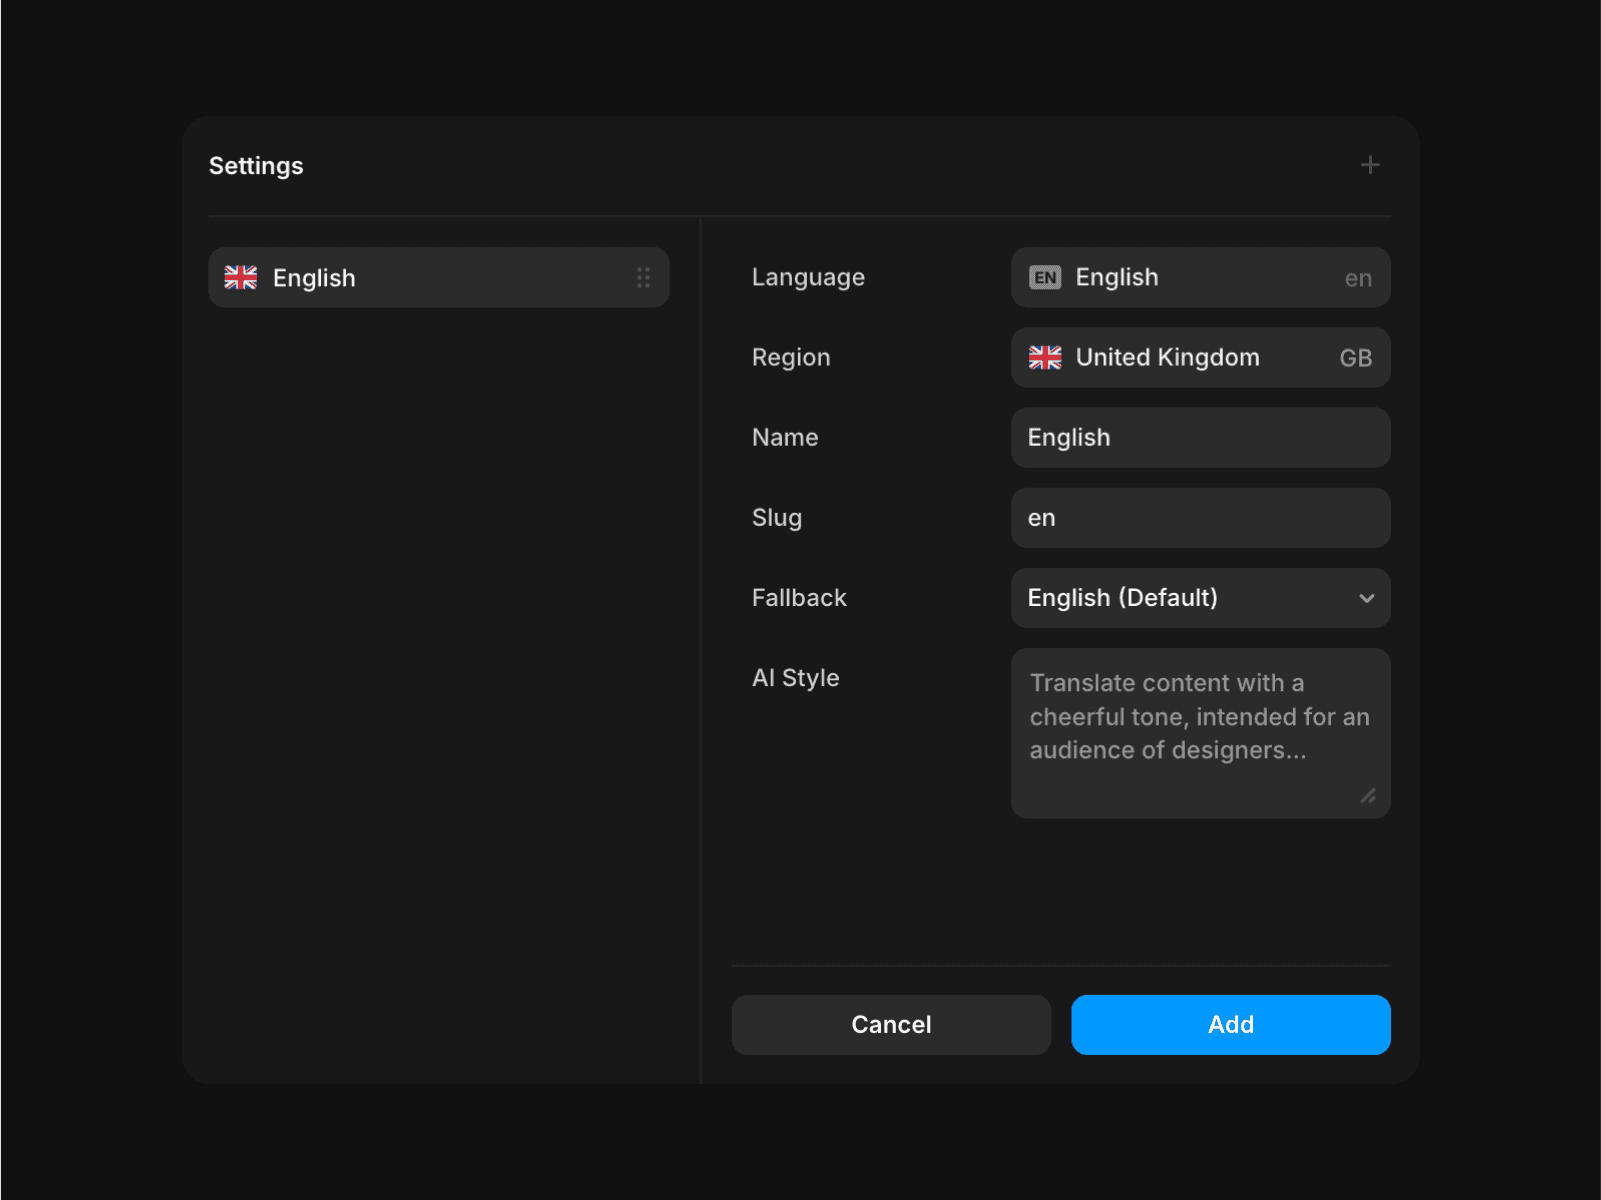
Then, click Add Locale and select a language. You can choose a specific region or set a fallback language, which will display when translations are missing.
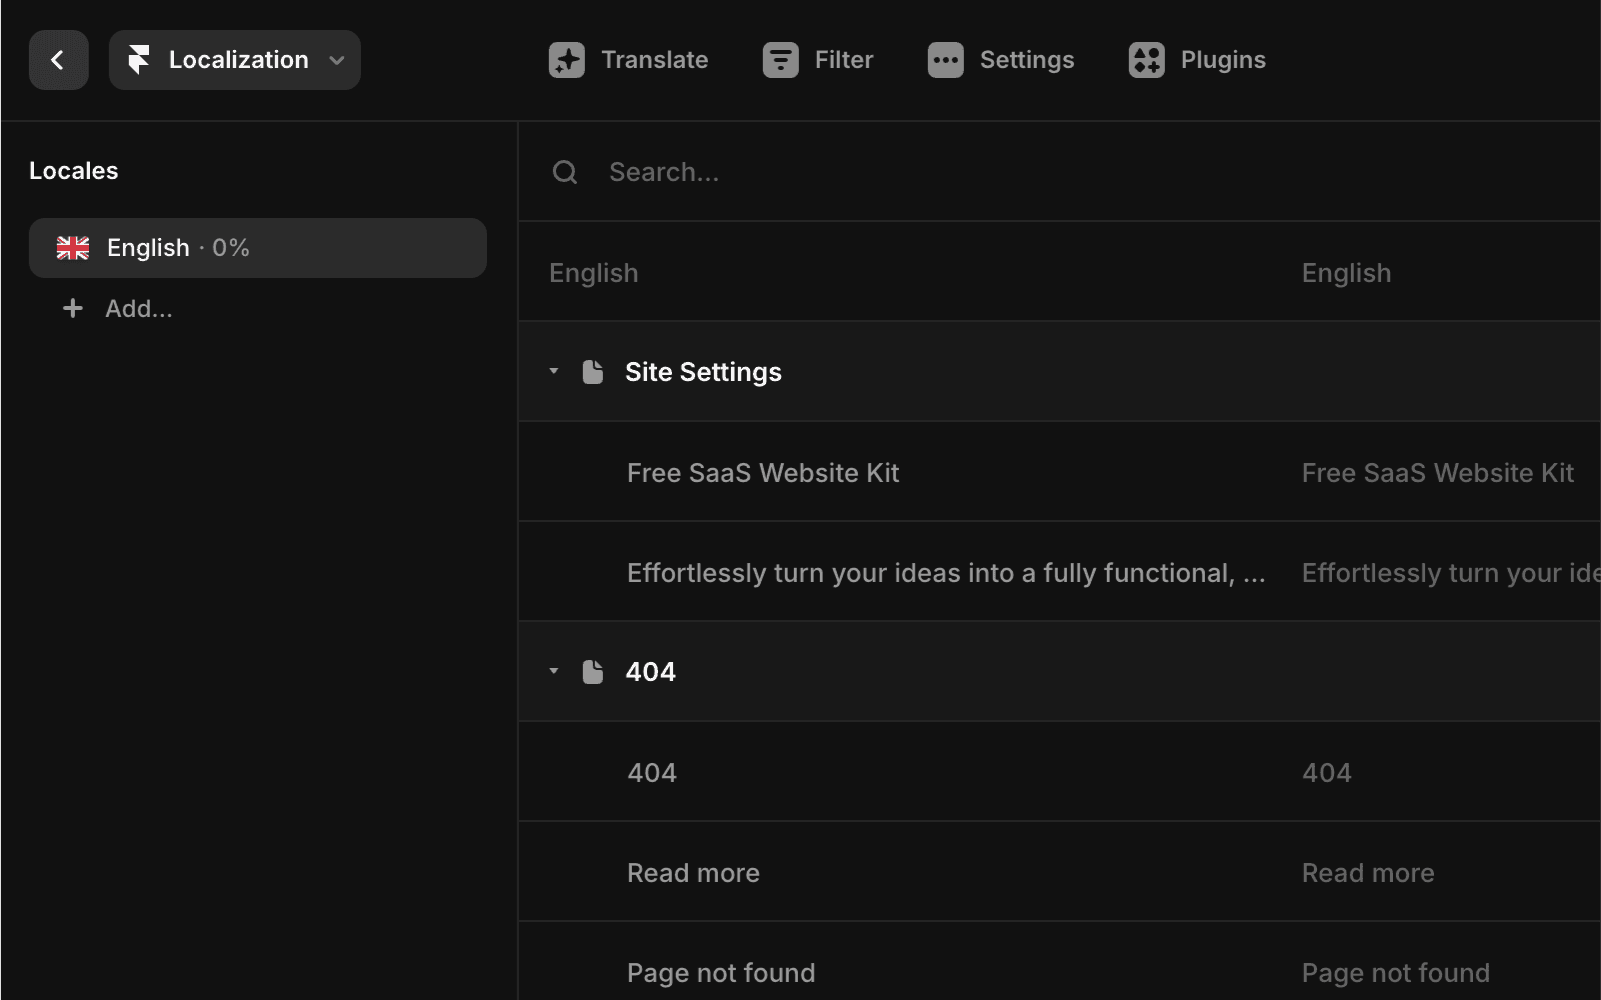
Once the locale is created, all text strings in your project—such as page titles, descriptions, and image alt text—will appear in the Localization table, organized by page.
You can translate content in two ways:
Manually by entering your own translations.
Using AI Translation to partially or fully translate all content automatically. Learn more about the AI models used here.
Previewing locales
After creating a locale and translating your content, you can preview how your site looks in each language.
In the canvas, click the locale icon in the bottom navigation bar to switch between locales. You can also edit translations directly in the canvas.

Still experiencing an issue after following the steps above? Feel free to reach out to us through our contact page for further help.
Updated